How to right-align an image in HTML CSS?
In addition to the right-aligned images, you’ll also learn to align the image on the top-right, middle-right, and bottom-right corners.
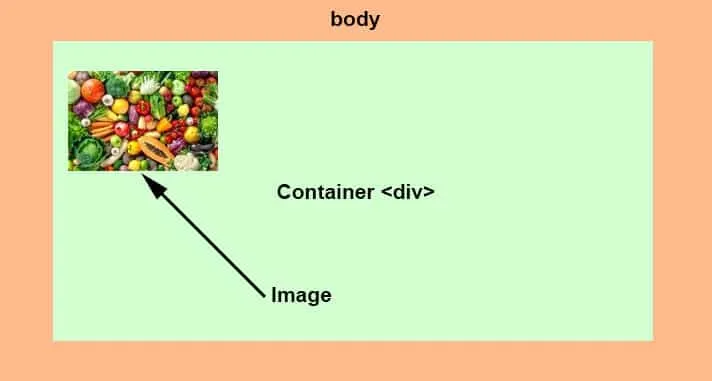
<div class="container">
  <img src="./img/vegetable.jpg" alt="vegetable" />
</div>
Only with the above HTML does the output look like the screenshot below.
To make it right-aligned, I have the following CSS.
.container {
  position: relative;
}
.container img {
  position: absolute;
  top: 0;
  right: 0;
  height: 100%;
}
With the above CSS, my image became right-aligned and takes full available height (as you see below).
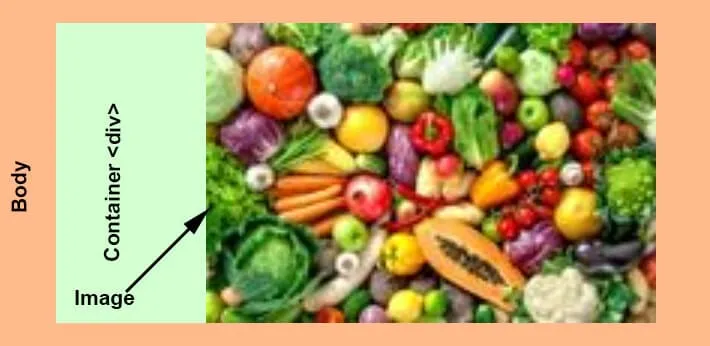
As you see in the above screenshot, the container div’s padding is not visible and consumed by the image. If you want to keep the padding, then you have to adjust the top & right values such as “top: 30px; right: 15px.”
You can achieve the same layout using CSS Flexbox. To right-align the image (and stretch) using Flexbox, use the following CSS:
.container {
  display: flex;
  justify-content: flex-end;
  align-items: stretch;
}
.container img {
  height: 100%;
}
Using the above flexbox CSS, the output looks like the screenshot below.

How to align an image to the top-right corner?
Not only in this example but also others, you can align items in many different ways. However, I will try to show you multiple ways to do them.
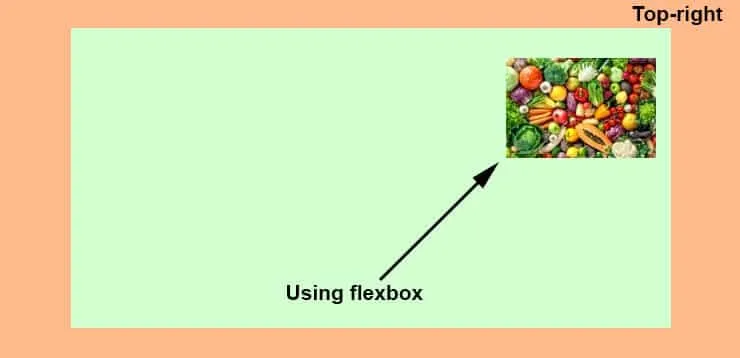
To align an image to the top-right corner inside of a div, first, see the flexbox way of doing it.
Set the container div to display flex. Then, justify-content to flex-end so the image goes to the right side of the container. Finally, align-items to flex-start so the image starts its position from the top. And you don’t even need to write any CSS for the image itself. See my CSS below.
.container {
  display: flex;
  justify-content: flex-end;
  align-items: flex-start;
}
Only with the above three lines of CSS the output looks like the screenshot below:
Achieve the same alignment using CSS positioning.
.container {
  position: relative;
}
.container img {
  position: absolute;
  top: 30px;
  right: 15px;
}
In this case, I have a top: 30px & right: 15px because I wanted to keep the container div’s padding. I had padding to the container div of 30px to the top and 15px to the right. But if you don’t want the padding to the container, you can use “0” (zero) to the top & right.
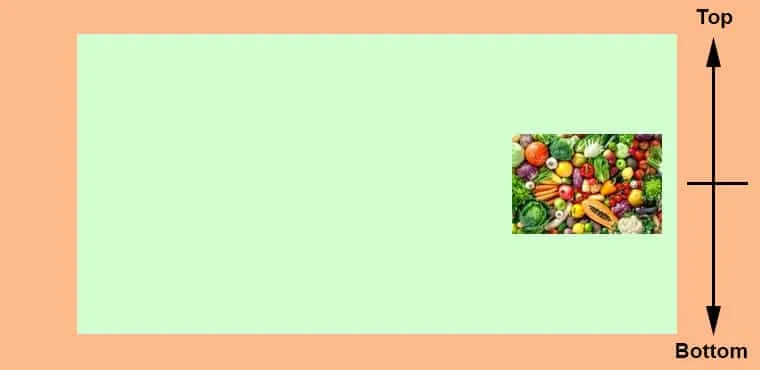
How do you align an image to the middle-right corner?
To align an image to the middle-right corner of a div, set the container div to display flex. And then justify-content to flex-end so it goes to the right side (horizontally). Finally, align-items to the center so it sits in the middle (vertically).
See my CSS below.
.container {
  display: flex;
  justify-content: flex-end;
  align-items: center;
}
You don’t need additional CSS for the image itself. With the above CSS, the output looks like the following screenshot.
As always, you can achieve the same aligning using positioning. See my code below for another way to do it.
.container {
  position: relative;
}
.container img {
  position: absolute;
  top: 50%;
  right: 15px;
  transform: translateY(-50%);
}
As you see that I have a new CSS property called “transform.” You need this transform property if you want to center-align (vertically) with the CSS position. Otherwise, the image will be not perfectly centered if you push 50% from the top. Because the image itself has a height.
So, we need to push the image back to the top of its own height. And this is what I am doing with the “translateY(-50%).”
Do you need web design help? Feel free to reach out.
I am a freelance web developer helping other developers, designers, and clients. If you need web design-related help, feel free to reach out to me. Always a reasonable price and easy to communicate with.
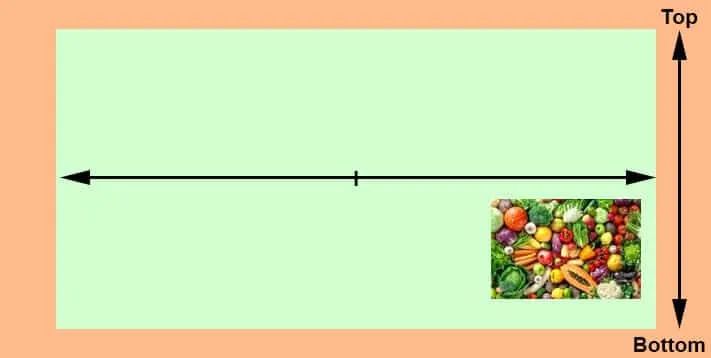
How to align an image to the bottom-right corner?
To align an image to the bottom-right corner, set the display flex of the main container, then justify-content to flex-end so it goes to the right side (horizontally). Finally, align-items to flex-end so it sits at the bottom (vertically).
See my code below.
.container {
  display: flex;
  justify-content: flex-end;
  align-items: flex-end;
}
With the above CSS, the output looks like the screenshot as you see below.
But you don’t need the transform property to make the same alignment using CSS position. If you want to achieve the exact same alignment using positioning, see the alternative CSS below.
.container {
  position: relative;
}
.container img {
  position: absolute;
  bottom: 30px;
  right: 15px;
}
The output looks the same as you’ve seen in the above screenshot.